Skip to content
3 Fun & Creative Ways to Make Beaded Necklaces
No matter the season, the right jewelry piece can take your outfit and appearance to another level. Whether you like to wear several pieces together or prefer a more subtle approach, you can find the jewelry that creates the look you're after. Today, we're discussing beaded jewelry - beaded necklaces, specifically. We'll look at three styles of beaded necklaces and the fun ways you can make them. So, if you're a crafty person, and even if you aren't, you'll enjoy making these necklaces almost as much as you'll love wearing them.
Constructing beaded jewelry is much easier than you think, and once you get the hang of it, you can make all kinds of designs.
Related: How to Accessorize With Jewelry (And Not Break the Bank)
What You Need to Make a Beaded Necklace
You'll need some supplies depending on how elaborate you want your necklace to be. Here are lists of the materials and tools you'll need. Feel free to be creative in substituting various bead types for your own take on these necklaces.
Materials Needed
Stretch bead cord, beading thread, or monofilament bead cord
Metalic flex wire in gold
Wide variety of beads
- Czech beads
- African beads
- Perler beads
- Melted Perler beads
- Gold spacer beads
- Alphabet beads
- Pearl beads
- Fruit beads
- Baroque beads
- Sliced cowrie shells
Beading scissors
Beadboard (optional)
Jump rings
Lobster clasps
Crimp tubes
Tools Needed
Needle
Beading scissors
Crimping tool
Beadboard (optional)
Needle nose pliers
Fun and Creative Ways to Make Beaded Necklaces
1 Infinity Necklaces
An infinity necklace is long enough to wear it doubled around your neck without needing a clasp. This is the easiest beaded necklace to make.
You will need a long fishing string or bead cord, an assortment of beads, and a needle. Tie a double or triple knot at one end of your string, or tie a small bead at the end. Then begin to thread beads onto your string. It might be helpful to arrange your beads
beforehand to determine the desired pattern. Keep threading until you are at the other end of your string, then tie both ends together. You can tuck the knot inside of the last bead.
Depending on the kind of beads you choose, you can make a fun or sophisticated necklace.
Related: Jewelry Selling? Here's How to do it Safely!

Are you looking for unique and trendy jewelry? We offer jewelry handcrafted with love. Check out LaCkore Couture to see our range.
2 Beaded Necklace with Clamshell Knot Covers
You'll need metal clamshell knot covers and a clasp for this necklace. Your choices for clasps include barrel, lobster with jump rings, or toggle. Your necklace will require two clamshell knot covers.
Begin by cutting your chosen string at least 6 inches longer than your intended necklace length. Tie a knot and place it inside the clamshell knot cover. Close the cover with the knot securely inside and trim the thread. Put a clasp onto the open loop of the clamshell knot end, then close the open loop around the clasp to secure it with needle nose pliers.
Now you're ready to start beading. Allow your beads to be as close as possible to the clamshell knot, and build your bead design. When you're done, push all the beads to the end (ensuring there are no spaces), and use your needle to secure the final bead.
Next, you'll attach a lobster claw hook with a jump ring, and your necklace is complete.
3 Classic Pendant Beaded Necklace
This beaded necklace will have a large bead pendant in the middle, making it perfect for elegantly adorning your neck.
Begin by determining the length you want and laying out a bead pattern. Make sure you have enough of each type of bead you use to be symmetric on either side of the pendant. Cut your chosen thread or cord to your desired length - plus six inches.
To secure your necklace, begin by stringing your clasp on with a jump ring, then slide on one bead, a crimping bead, and then another bead about an inch down. Use a crimping tool or pliers to crimp your bead in place. Note that these beads are not from your bead design yet.
Finally, begin your beading. Paying careful attention to the design you have laid out, string your beads, including the pendant, until the entire design is complete. Remember to leave about 3 or 4 inches of string at the end.
With all your beading accomplished, you may repeat the earlier process - connect a clasp with a jump ring, bead, crimp, and then a final bead. Don't pull the string too tight, allowing a bit of slack so your beads can move and rotate. If the beads are pulled too tightly together, the string can break.
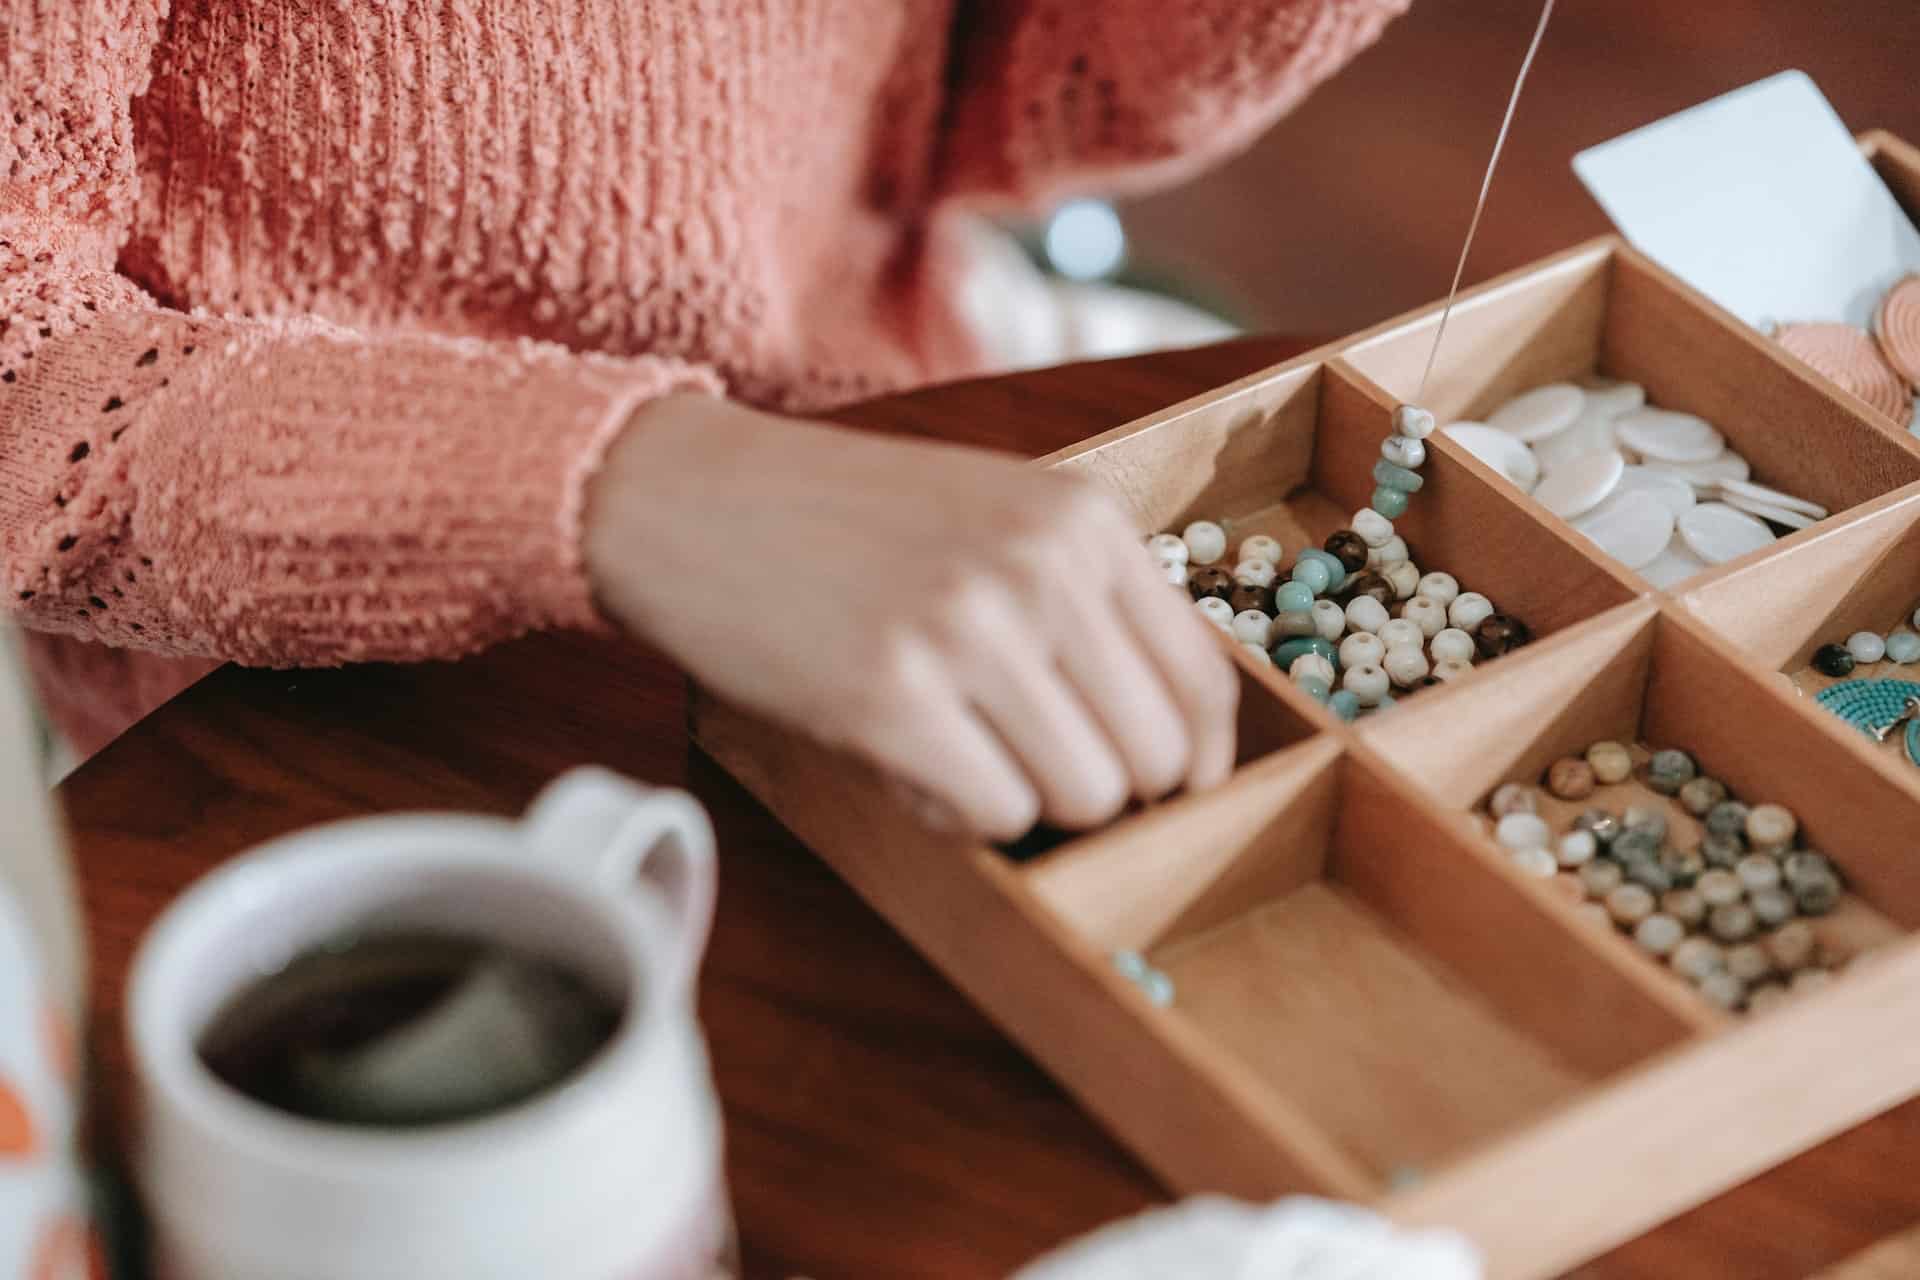
A Bead Board
We mentioned a bead board as an optional tool earlier. A bead board is an excellent tool for laying out and measuring your bead designs. The board is constructed to hold your beads and to show you how they will look upon completion.
Here are a few additional benefits of using a beadboard:
- You can correct errors in design before stringing the beads. You can also experiment with various patterns and color combinations.
- It makes doing multiple thread designs easier.
- It has a measurement guide.
- It keeps your beads organized while you work.
- You can leave your project and return to it later.
Related: Handmade Jewelry Trends 2022: End of Year Looks
Creating Your Own Beaded Necklaces
Making your own jewelry is a creative and enjoyable way to spend your time. Not only is it less expensive than purchasing premade jewelry pieces, but you can also create precisely what you want. Making your own beaded jewelry will give you items that reflect your personality's uniqueness and are appropriate for every occasion.
Do you love beautiful jewelry? Capture your essence with our handcrafted jewelry to suit every style. Visit LaCkore Couture today!